

How to Build a Full Stack NFT Marketplace
Launch an NFT Marketplace using Thirdweb, Alchemy, and Next.js (in one day!)


Table of contents
This article was published first on blog.developerdao.com.
Along with the rising prominence of Non-Fungible Tokens (NFTs), several NFT marketplaces have sprung up. Because NFTs are digital assets that can be bought, sold, or traded, these marketplaces play an essential role as a platform for connecting buyers and sellers. If you are too wondering how to develop one of your own, this tutorial is for you.
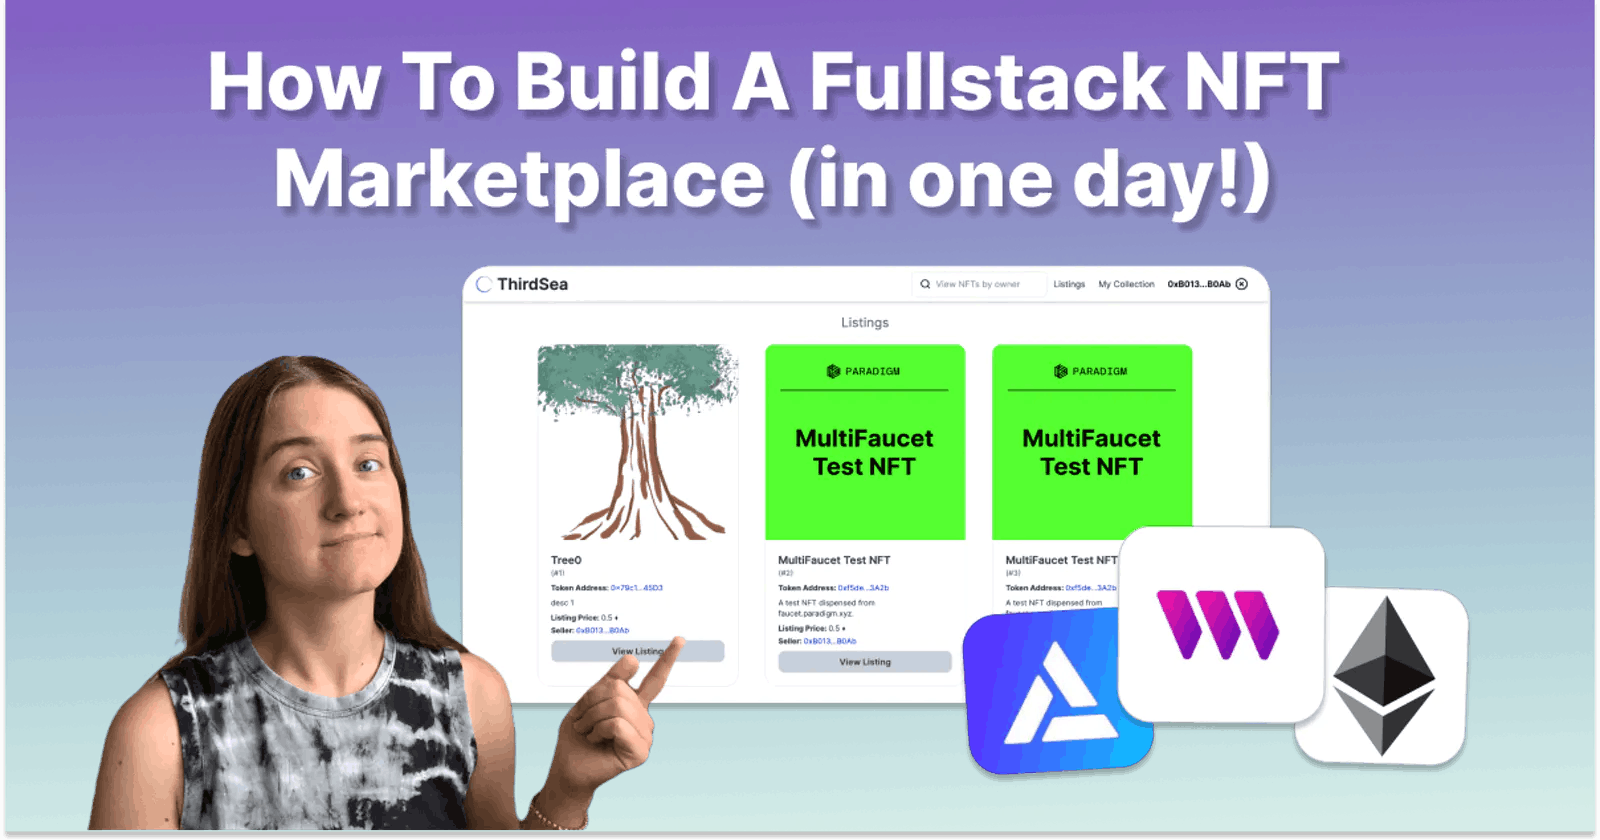
What are We Building?
In this guide, we will create an NFT marketplace while bootstrapping some smart contract work from Thirdweb and some network querying with Alchemy. The marketplace will have some basic operations like listing, buying, and displaying the NFTs, and we will implement these functions in our smart contract.
The Tech Stack
- Ethereum (under the hood)
- Thirdweb↗
- Alchemy↗
- Next.js (TypeScript)↗
- TailwindCSS↗
Prerequisites
You'll need node.js and Yarn installed on your machine to follow the guide. You can check both by running node --version and yarn --version.
Setting Up the Development Environment
We will begin the project by forking the Thirdweb NFT Marketplace repository↗. You can click the 'fork' button at the top-right of the linked GitHub page. The repository will have some basic configurations and setup to get us started with our dApp.
Download the front-end code by running the following command in your desired terminal directory, and check out the "start-here" branch:
git clone <YOUR FORKED REPO>
cd thirdweb-nft-marketplace
git checkout start-here
Install the dependencies.
yarn install
Start the development server.
yarn dev
We are ready to roll!
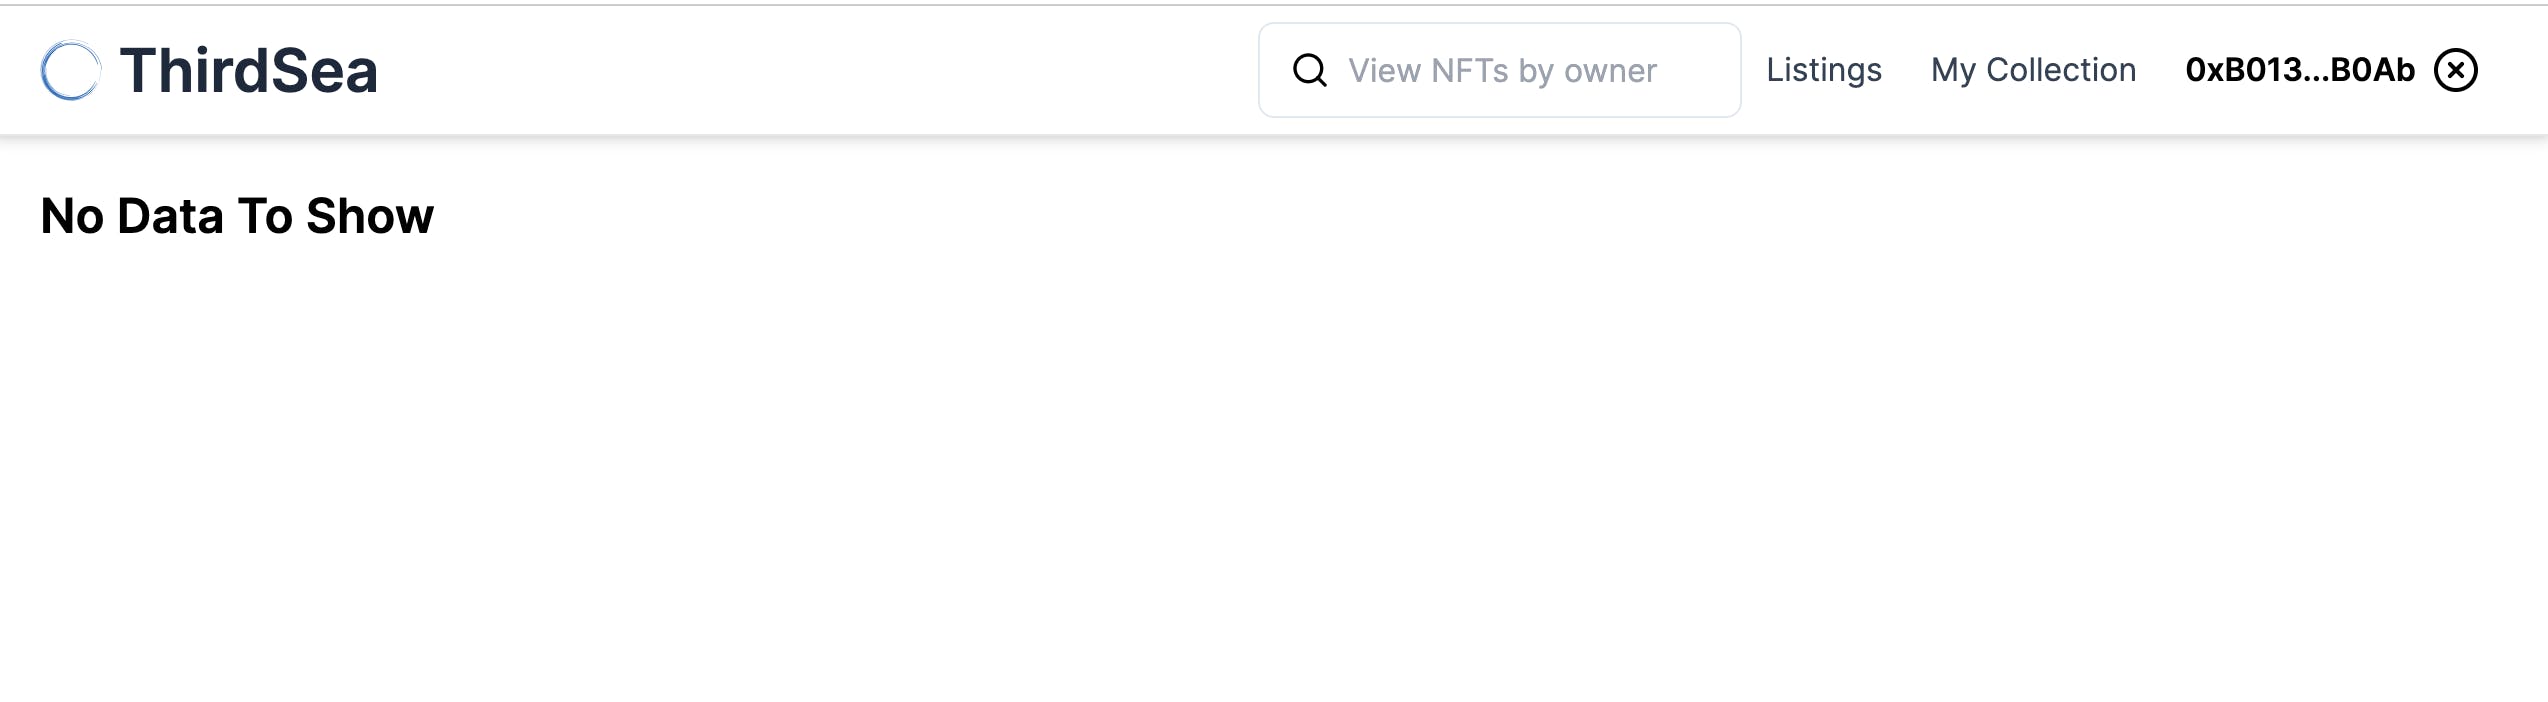
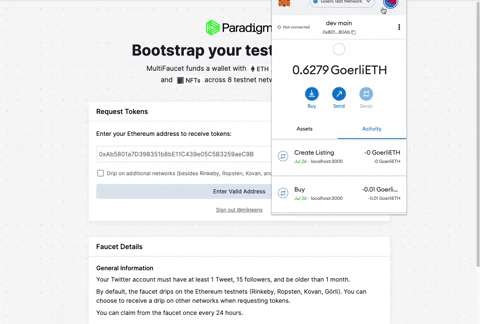
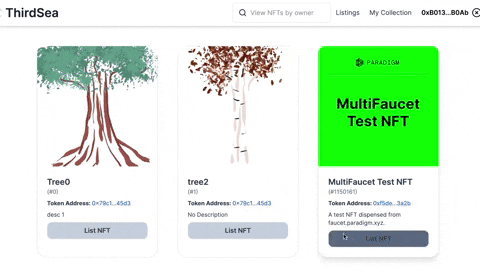
The links will not work yet, but you should be able to navigate to localhost:3000, connect a MetaMask wallet, and see something like the below.
If you are curious about the wallet logic, check out components/Header.tsx (Thirdweb's SDK is the base of it, which will get into below).
Create an NFT Marketplace with Thirdweb
Let's use Thirdweb to ship some smart contracts to the network!
Connect Your Wallet to Thirdweb
Navigate to thirdweb↗ and connect your browser wallet.
Switch to, or create, a development account in your wallet (never mix your real accounts with development!), and change over to the Goerli network.
Send test Ether (and test NFTs!) to your test account using a Goerli faucet↗. Using the faucet requires a Twitter account.
(Optional) Create Test NFTs with a Thirdweb NFT Collection
The Paradigm faucet will give us some test NFTs to work with, but for fun, we can also create a few of our own NFTs and deploy them to Goerli. You may want to gather 2-3 pictures you like from your camera roll for this step; it's pretty cool to see your own stuff on the network.
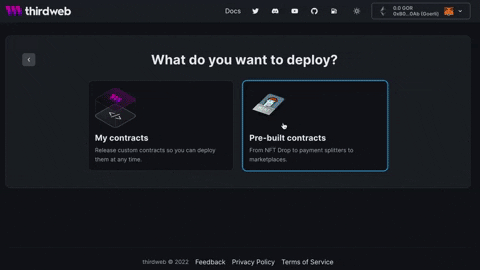
Once set up, navigate to Pre-built Contracts > Create NFTs and Tokens > NFT Collection.
Give your NFT Collection a description and symbol. This initial transaction is just the Collection contract, so we will not upload any images just yet. An important input to note here is the recipient address; check that it matches the address in your wallet. Do not worry about the rest of the inputs for now.
Click Deploy.
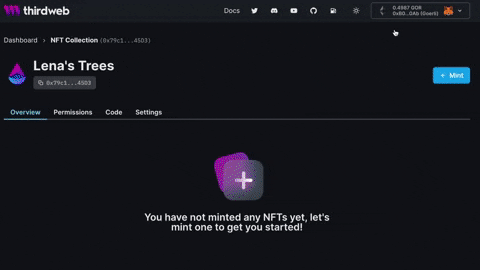
Now we mint NFTs to the collection!
Navigate to your collection in Thirdweb, click Mint, add your photo and description, and click Deploy.
Do this 2-3 times, so you have some more test data to work with.
Create an NFT Marketplace with Thirdweb and List Some NFTs
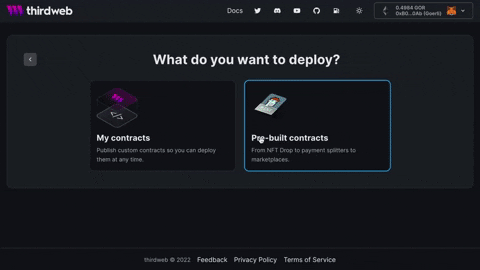
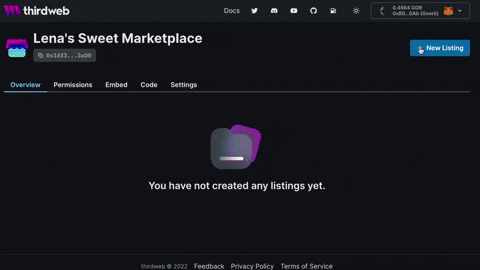
In Thirdweb, navigate to Pre-built Contracts > NFT Marketplace.
Give your marketplace a name and description, and deploy.
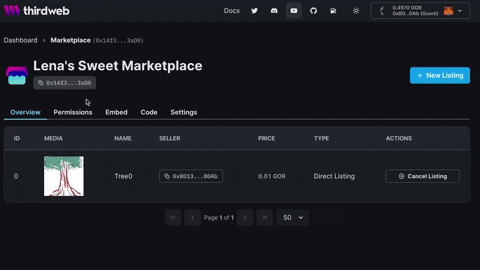
Navigate to your Marketplace contract, click Create Listing, and list one of your NFTs for sale in the marketplace.
Our contracts are all set up. One final thing to look at here is the 'code' tab in your NFT Marketplace. It will give you some sample snippets of how we can use their SDK to interact with the marketplace, which we will do in the next section.
Build the NFT Marketplace UI with Thirdweb's and Alchemy's SDKs
I used Thirdweb's SDK docs ↗ and Alchemy's SDK docs ↗ to implement the logic in this project.
If you ever get stuck anywhere, you can refer to this repository's main↗ branch.
Reminder to start your dev server with yarn dev, navigate to localhost:3000, and be on the start-here branch.
git checkout start-here
Configure the App to Read From the Correct Location
Inside config/targetChainConfig.ts, set your targetChainId to the desired network. At this point, it should already be ChainId.Goerli.
Copy your marketplace contract address from Thirdweb, and paste it into the Marketplace constant in config/contractAddresses.ts.
Note: If you ever want to point to a different network like Mainnet, you must change the
targetChainIdand add the contract address for your desired network.
In the Home component in pages/index.tsx, read the marketplace listings using Thirdweb's SDK.
import { useActiveListings, useMarketplace } from "@thirdweb-dev/react";
import { readAppContractAddresses } from "../config/contractAddresses";

const Home: NextPage = () => {
  const marketplaceAddress = readAppContractAddresses("Marketplace");
  const marketplace = useMarketplace(marketplaceAddress);
  const { data, isLoading } = useActiveListings(marketplace);
  ...
We should be able to see some listings now!
Note: We can use these hooks because we wrapped our
pages/_app.tsxcomponent in aThirdwebProvider, which lets us hook into their application context.
Set up Alchemy to View NFT Collections by Owner
While Thirdweb's SDK gives us great tooling to interact with an NFT marketplace, it does not give us a way to view NFTs owned by an address (this requires some aggregation of network data).
Thankfully, Alchemy's SDK and managed node gives us the tools to accomplish this with a few lines.
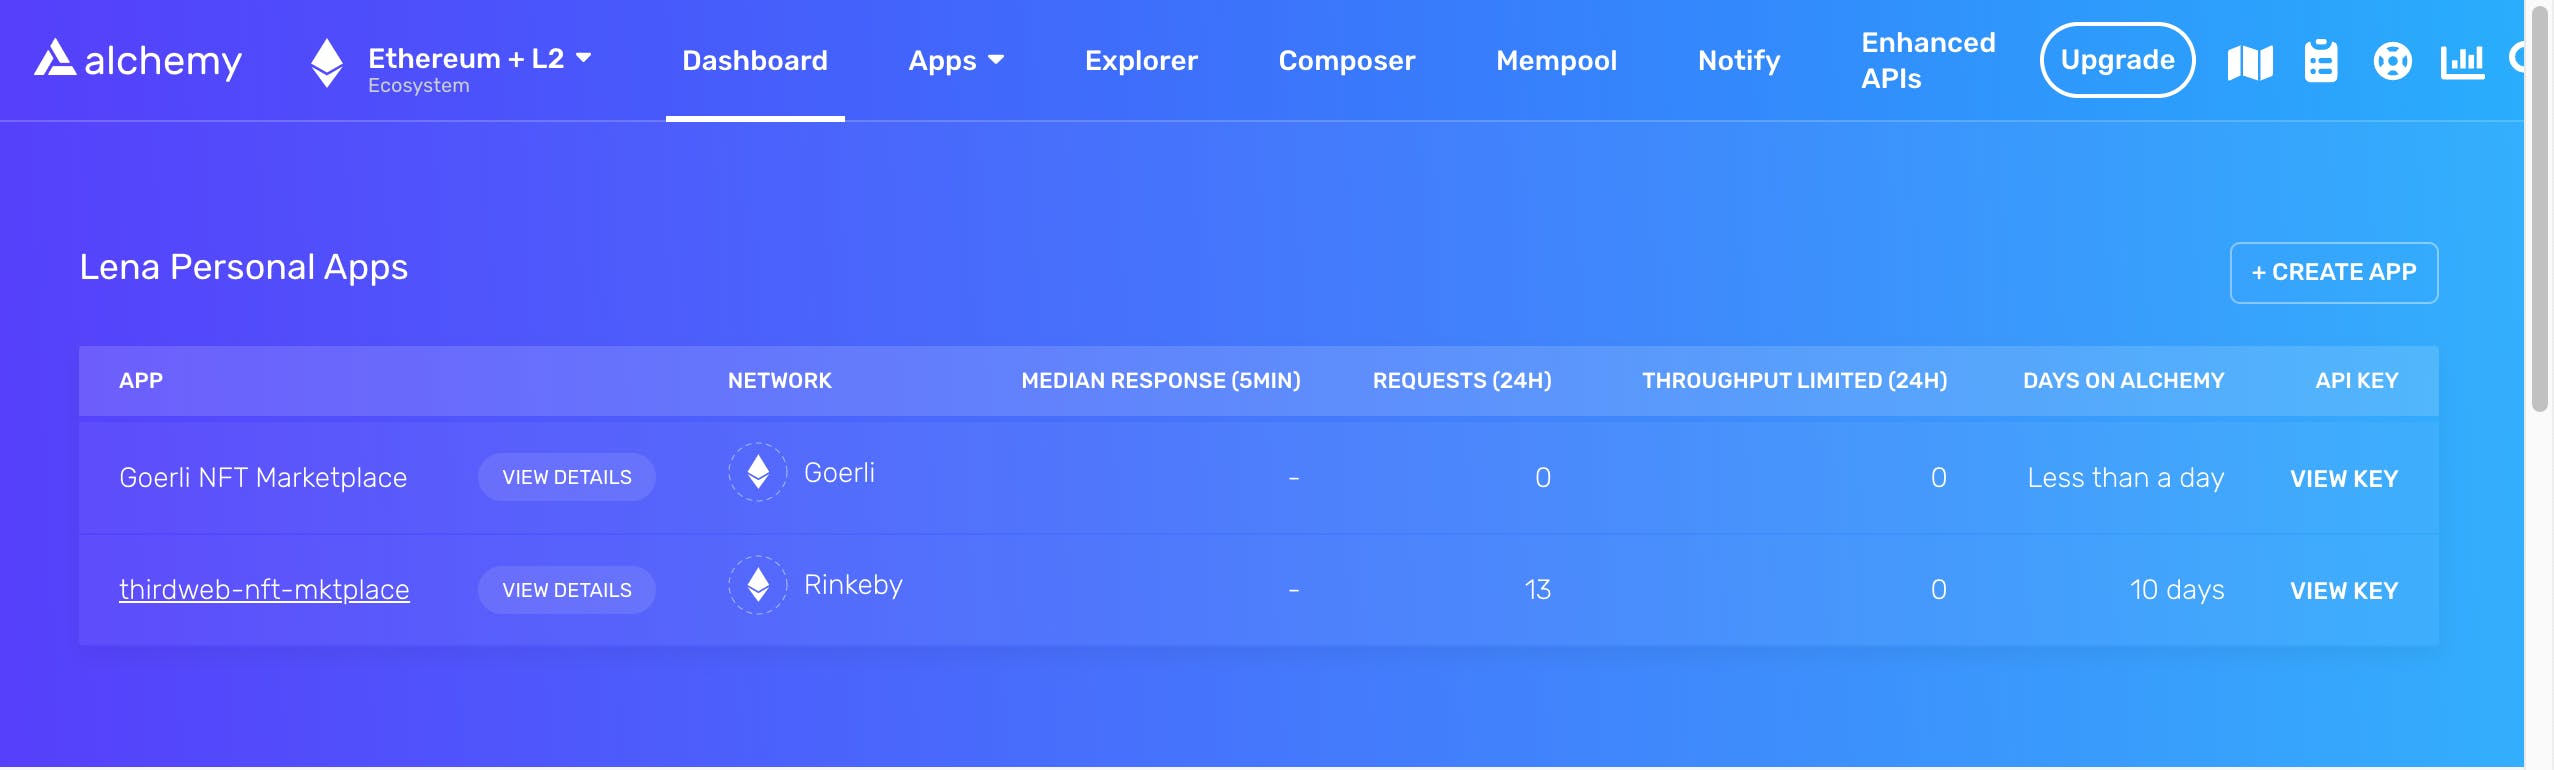
Go to Alchemy↗ and create a free tier account.
Create an app for yourself, and copy the API key.
DO NOT paste this key to GitHub!
Paste your alchemy key into .env.changeMe, and rename it to env.local (now Next.js can read it out automatically).
Do not skip this step; otherwise, your app will not pick up your API key.
In the getServerSideProps function in pages/collection/[address].tsx, we can use Alchemy's SDK to access all NFTs belonging to an address. We instantiated our connection with a small amount of setup and passed it to the SDK; you can take a look at that in config/alchemy.ts.
import { alchemy } from "../../config/alchemy";
import {
  OwnedNft,
  OwnedNftsResponse,
  getNftsForOwner,
} from "@alch/alchemy-sdk";

export async function getServerSideProps(context: NextPageContext) {
  const address: string | string[] | undefined = context.query.address;

  const data = await getNftsForOwner(alchemy, address?.toString() ?? "");
  return { props: { data: JSON.stringify(data) } };
}
Make sure to stringify the response; otherwise, Next.js will throw an error.
Finally, inside the CollectionPage component, access the data out of the server-side props:
const CollectionPage: NextPage<{ data: string }> = ({ data, address }) => {
  const fetchedData: OwnedNftsResponse = JSON.parse(data);
   const nfts = fetchedData?.ownedNfts?.map((ownedNft: OwnedNft) => {...});
  });
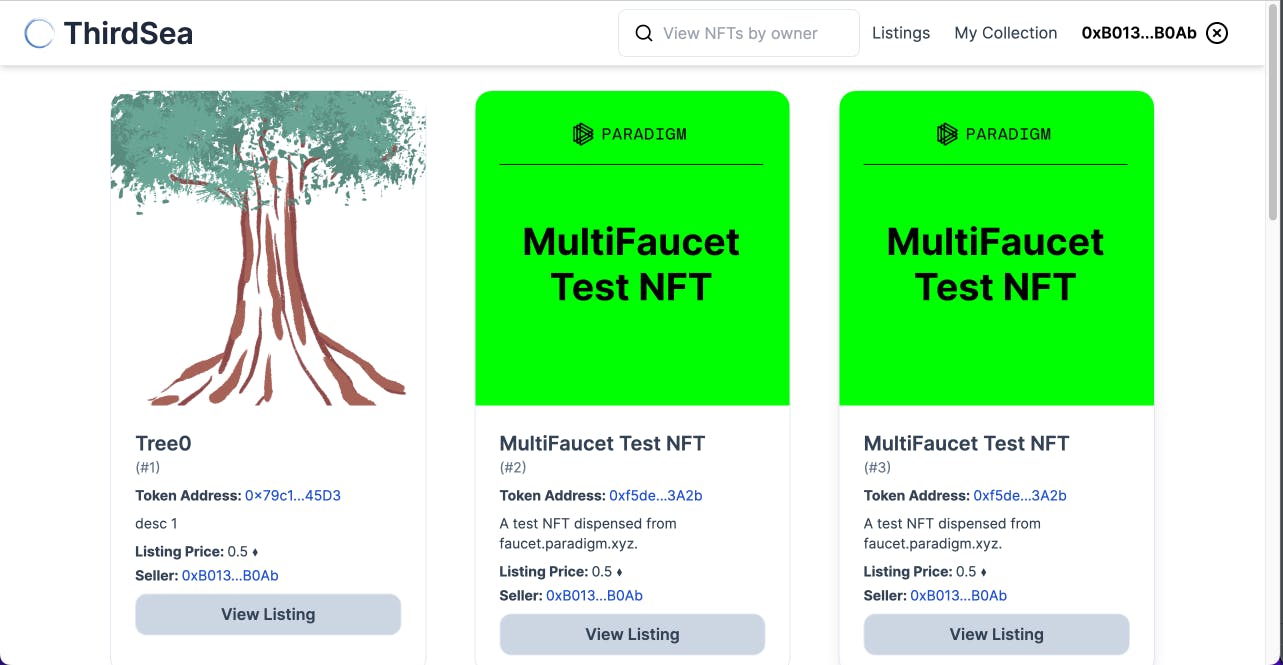
Now, you should be able to click My Collection in the header to view the assets in your wallet, and you can use the search bar to view assets at any other address on the network. If you want, you can try mine 0xB0136A89A159A85f3f7e76e77E2450538a70B0Ab.
Allow User to List an NFT on the Marketplace
Now that we can view all NFTs in a wallet, we can let the user list their own NFTs with Thirdweb's SDK.
In pages/create-listing/[contractAddress].tsx, read out the NFT data with alchemy's SDK inside getServerSideProps.
import { getNftMetadata, Nft, NftTokenType } from "@alch/alchemy-sdk";

export async function getServerSideProps(context: NextPageContext) {
  const contractAddress: string | string[] | undefined = context.query.contractAddress;
  const tokenId: string | string[] | undefined = context.query.tokenId;

  const data = await getNftMetadata(alchemy, {
    tokenId: tokenId?.toString() ?? "",
    contract: { address: contractAddress?.toString() ?? "" },
    tokenType: NftTokenType.ERC721,
  });

  return { props: { data: JSON.stringify(data) } };
}
In the CreateListingPage component in pages/create-listing/[contractAddress].tsx, instantiate the marketplace again and create a function which will execute the creation:
const CreateListingPage: NextPage<{ data: string }> = ({ data }) => {
  ...

  const marketplace = useMarketplace(readAppContractAddresses("Marketplace"));
  const createListing = async () => {
    return marketplace!.direct.createListing({
      assetContractAddress: NFT.contract.address,
      tokenId: NFT.tokenId,
      startTimestamp: new Date(),
      listingDurationInSeconds: 86400,
      quantity: 1,
      currencyContractAddress: NATIVE_TOKEN_ADDRESS,
      buyoutPricePerToken: price,
    });
  };
The above function will get passed to useMutation and executed if the create function from useMutation is called.
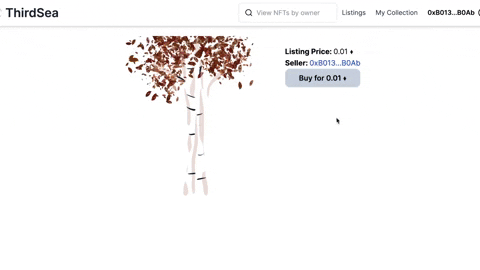
Now, you should be able to click 'List NFT', sign the transaction, and see it in the Listings section.
Allow User to Buy an NFT from the Marketplace
Finally, we can use Thirdweb's SDK to enable the purchase of a listed NFT.
In pages/listing/[listingId].tsx, add the below to the ListingPage to instantiate the SDK and data we need:
import {
  MediaRenderer,
  useAddress,
  useListing,
  useMarketplace,
} from "@thirdweb-dev/react";
import {
  TransactionResult,
  TransactionResultWithId,
} from "@thirdweb-dev/sdk/dist/src/core/types";

const ListingPage: NextPage = () => {
  const { listingId } = router.query as { listingId: string };
  ...

  const marketplace = useMarketplace(readAppContractAddresses("Marketplace"));
  const { data: listing, isLoading: listingLoading } = useListing(
    marketplace,
    listingId
  );
Inside useMutation, add the logic which will execute the buy:
 const { mutate: handleBuy, isLoading: buyLoading } = useMutation({
    mutationFn: () => {
      return marketplace!.buyoutListing(listingId, 1);
    },
    onError: (err: any) => {
      console.error(err);
      alert(`Error purchasing NFT:${err}`);
    },
    onSuccess: () => {
      router.push(`/collection/${address}`);
    },
  });
Now, you should be able to buy NFTs from the marketplace!
You can try buying one with a different account for good measure, but the same account as the lister will also work.
Congrats, you now have an NFT marketplace where you can buy and list NFTs!
(Optional) Deploy your NFT Marketplace UI using Vercel
You can keep your app on your machine, but if you want a complete, live, demo-able project, you can follow these steps to get it live on the web and be able to send it to your friends!
Run yarn build and make sure it passes to bundle all our code. We will not do anything with the build directly, but the deployment will fail if the build fails.
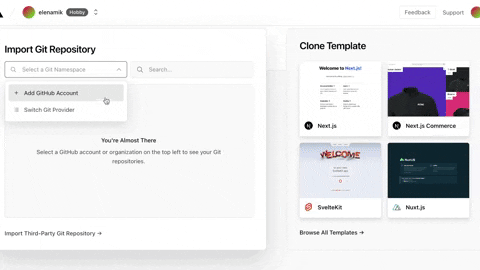
Create a Vercel account↗
Add your github forked repository to Vercel.
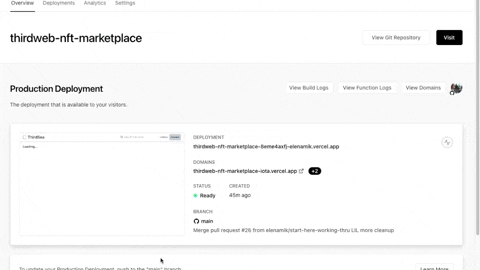
Commit all your changes to a branch, push it up to the remote, and Vercel will handle the rest! Anytime you push to the main branch or open up a pull request from a different branch, it will automatically attempt a build and try to deploy to a public URL.
git add .
git commit -m "built an NFT marketplace woohoo"
git push
Navigate to the build in Vercel, and open up the link to your app. This one is live at https://thirdweb-nft-marketplace-iota.vercel.app/
That's it!
Nice work; now you have a fully functional application. You can interact with it using different wallet accounts and send the link to your friends.
Feel free to fork the project and suggest any improvements.
Ideas for further features
Some future items to extend this dapp would be to add more features to the UI, such as filtering by collection, sorting by price, or even seeing past owners. One way to do this is via a Graph Protocol Subgraph.
Feel free to poke around ThirdWeb's other Pre-built Contracts, their interface for managing custom contracts, and their SDK (it's quite a pleasure to work with!), and see if you want to support any other kind of marketplace features (such as an NFT drop?). Good luck and have fun!
Where to Find Me
Feel free to message me on Twitter @mikleens, and check out my blog for more content. I am happy to help!